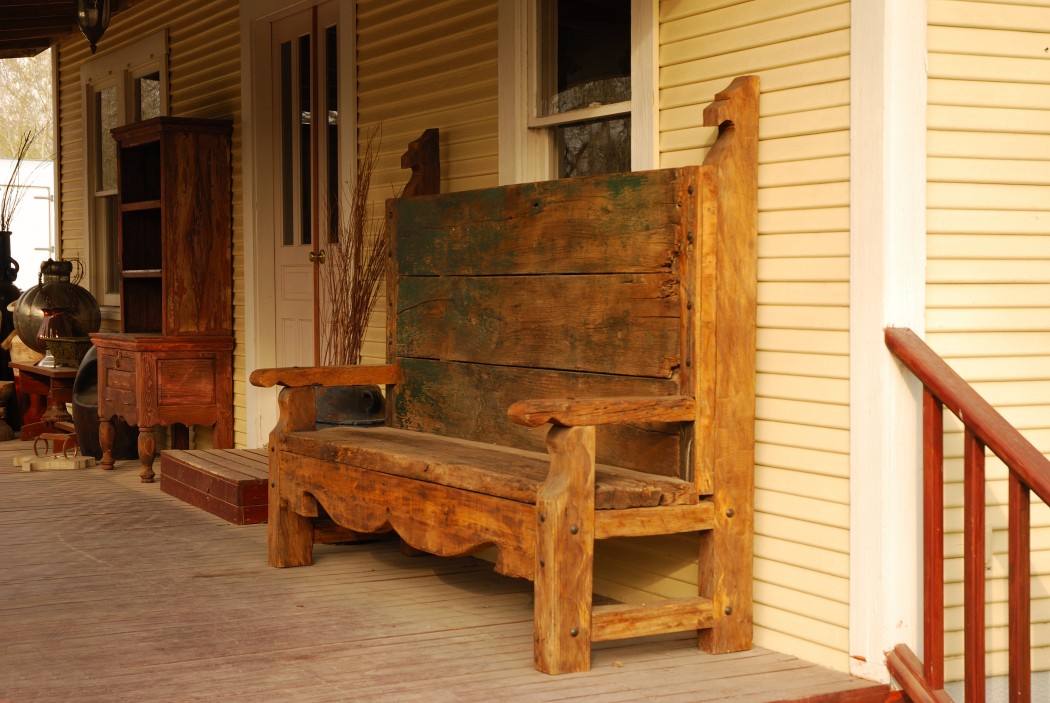
Antiques pick up character along their journeys, and they need a little TLC now and then to keep them aging with class. I like to think of restoration as just overdue TLC/maintenance. You need to break down the process into acts, and then it’s easy to resolve them one at a time. You’ll then be able to deal with issues as they arise and stay on top of the maintenance.
Assessing the quality of the finish
The first part of the process is assessing the surface finish quality. We do this by cleaning and detailed observation. For the purposes of Part 1, we’ll deal primarily with the rejuvenation of the finish, so we’re working with antiques that are of sound body. Structural repairs, including veneer, should be dealt with before tackling the finish.
Once we know we have a piece that is just blemished, we start by giving it a good cleaning. Wipe the surface with a cloth that’s wet but not dripping with soapy water—no harsh detergents here, as they can dissolve finish. Clean off the dirt and then wipe with a water-only cloth to remove any soap residue. If any undissolved spots remain after the water wash, take some mineral spirits on a cloth and wipe until they’re dissolved.
At this stage you’ll be getting a sense of the integrity of the finish as you wipe across the surfaces and start to see and feel the true finish. This is when you must take some time to really examine the finish and decide whether it should stay or go. We want to avoid stripping furniture of its original finish whenever possible, as this can easily devalue it by 50 percent, and that old mellowed finish is a great part of the beauty of antiques. If the finish is bonding well to the wood, and not flaking off, it is a candidate for rejuvenation.
Rejuvenating the original finish
If you were lucky enough to not have to strip the finish, the task now is to return life to the patina and lustre. The early finishes on antiques were shellac and lacquer, followed by a small percentage of varnish, oil sealers and wax. They each have their quirks, and unless you’re planning a period-style restoration with the original finish, we don’t need to delve into those now. My approach is to use one type of finish that is compatible with what you’re likely to have on your treasure.
It’s likely that the finish on your antique, regardless of type, is suffering from varying degrees of surface scratches. There may also be some crazing and cracking, which is causing the finish to look like it needs exfoliating. To prep the old surface for finish, it’s good to create a more even sheen, and get rid of a fine top layer of UV damaged finish. Now is the time to reach for the 0000 steel wool. You can also use abrasive plastic cloths here; just be sure to use a very fine grit meant for surface polishing.
Before you start to rub out the surface, look for little wood projections from damage and lightly flatten them with a pad of 220x paper. As you begin rubbing down the surface, be on the lookout for loose fibres (usually at edges) and/or loose bits of veneer. You can do more damage if you catch and pull wood. If you encounter these, a little glue, along with tape for a clamp, will get you back in the game.
Rub out the finish as evenly as you are able until it appears satiny. The new finish that you’re now going to apply is one you may not have experience with. It’s known as Danish oil, and some companies have different names for it. Watco makes Danish oil, and they also offer it in a variety of colours. This type of drying oil is like a very thin varnish, so it penetrates older porous finishes, including scratches. This helps to fortify the film, and also to diminish the appearance of surface damage. We choose an oil finish here rather than water-based, as the water will act unfavourably with shellac and lacquer. Its natural amber tone suits most woodwork, but you may wish to use it coloured.
If you have eased the edges and exposed bare wood, or if there are spots where the finish colour is worn or absent, the tinted oil will give you both colour and top coat. Apply it with a pad of cheesecloth, rubbing the oil into the surface to ensure saturation. Leave the surface for about half an hour before rubbing off excess. If you see dull spots where the finish is soaking in, just wipe with the cheesecloth to allow more finish to penetrate. The oil will get tacky if you leave it too long, and never apply finish in direct sunlight—it causes solvents to evaporate too quickly, and the finish doesn’t get a chance to soak in and level.
Rub down the surface with a fresh fine cloth until it looks uniformly wet/shiny. Depending on conditions, it can take several days for an oil finish to set up, but it’s worth the wait. You can apply more coats if desired once the surface has lost all tack. One of the advantages of oil finish is that you can service future scratches as easily as just rubbing a bit of oil into the damage and letting it dry.
Sean Ledoux is a designer/master fine craftsman working with wood and other found media to create unique furniture. Having diversified skills helps support studio life in North Bay, ON.


