“Find the light.” “Go to the light.” “Please step into the light.”
While these phrases might sound like missives from the afterlife, they’re also pretty common in photography circles. A photographer trying to “get the right light,” is practically a cliché at this point, but it’s a cliché for a reason. As any experienced photographer will tell you, it’s all about light. No matter how many touching up tools and fancy tricks we have up our sleeves, the fundamental skill of getting the right lighting remains vital to taking a good photograph.
Now that it’s summertime, there are lots of opportunities to photograph people and nature outdoors. This usually means working with the biggest light source of them all: the sun. Many photographers prefer the sun to any artificial light source. However, there are some tips and tricks that can help you get the best out of natural light and avoid any pitfalls. Here are a few things to think about before you head outside.
Choose the right time of day for your shoot

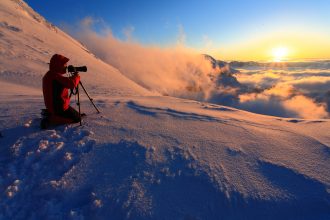
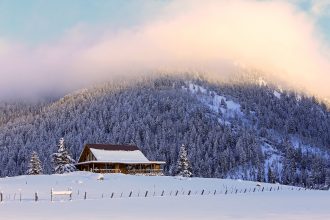
Photo by Ser Borakovskyy/Shutterstock
The best thing about sunlight is that it comes in many forms. There’s the blinding light of a hot summer day, the gentle glow of a sunset, or the eerie dying light of dusk—not to mention all the shades in between. Before you head out and start snapping, think about which sorts of subjects will look best at which time of day. A little forethought can save you a lot of trouble when you’re out getting shots.
Make sure the light suits your subject
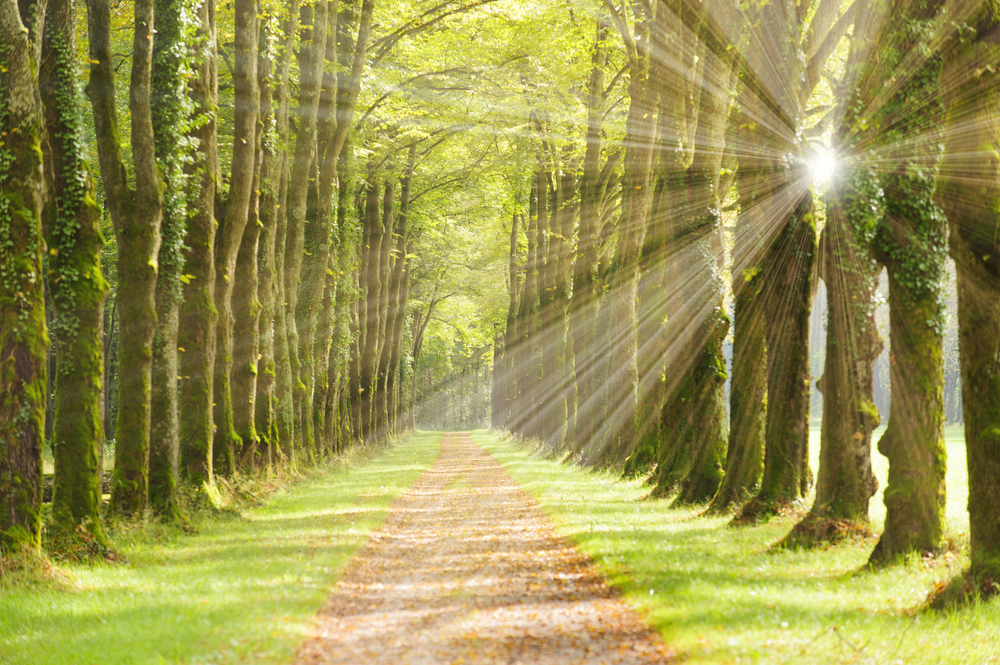
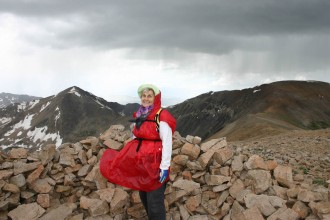
Photo by Wolfilser/Shutterstock
Direct sunlight can create strong shadows and hard lines, while indirect light has a softening effect. Neither is inherently better than the other, but instead, each can be used to suit specific needs. If you’re doing a wedding shoot, avoiding harsh direct light might be a good idea. However, if you’re trying to get an edgy, editorial shot, the extreme interplay of light and shadow can work to your advantage.
Watch out for backlighting (unless it’s a deliberate effect)

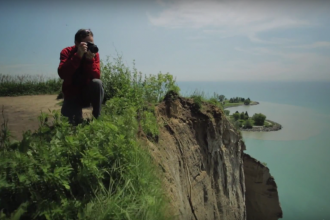
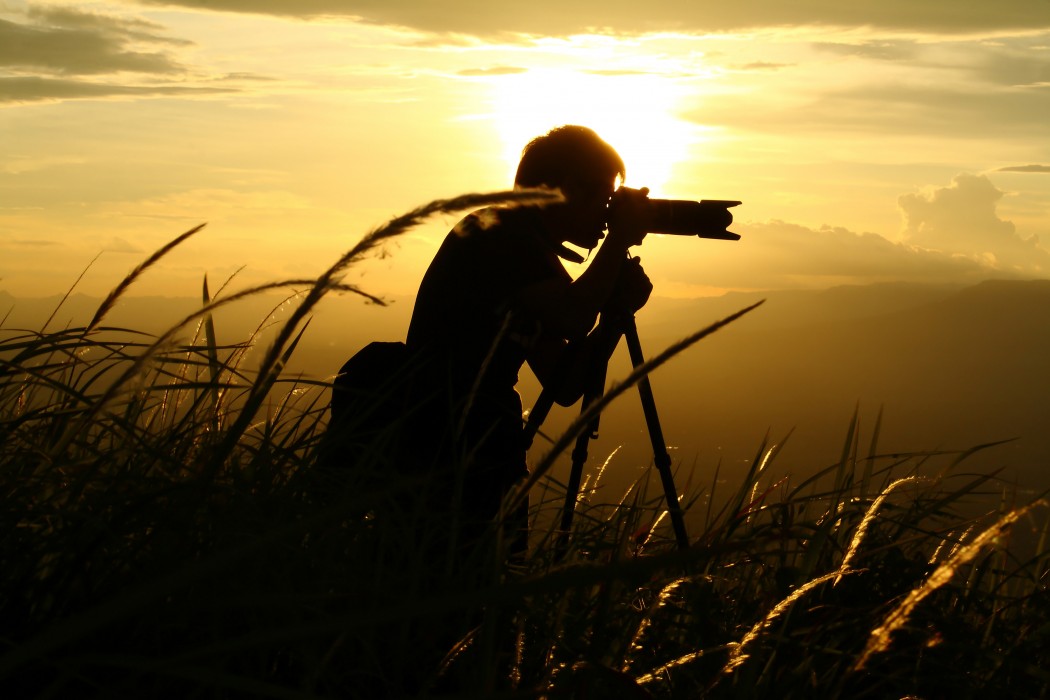
Photo by Vibrant Image Studio/Shutterstock
Unless the sun is directly above you, there will be angles from which your subject will be better lit. So when you’re setting up to take a photograph, take a moment to see which direction the light is going, and then place yourself in the spot from which you can best capture it. If the sun is behind your subject, chances are the object you’re photographing will show up low-lit or even entirely blacked out into silhouettes. So unless you want that “dark shape emerging from the light” look, steer clear of backlighting.
Use fabric or plastic to diffuse light
If you’re in a situation where the sunlight is too harsh, you can disperse the light with a sheet of clear plastic or a white sheet. If you can, get a friend or assistant to hold the diffuser between the sun and your subject, and look for the sweet spot where the light is bright but not harsh.
Use a fill flash if details are getting lost

Photo by Africa Studio/Shutterstock
It’s a cruel irony: in bright light, things often fall into shadow. This can happen in backlighting situations, or if your subject is too far away, or sometimes simply because of the shape of whatever you are photographing. It might seem counterintuitive to use a flash in broad daylight, but if your subject is looking a little grey, turn on your flash to fill in the dark spots. Doing this is known as “fill flash.” The sun will ensure that the overall photograph is full of natural light, while the fill flash will help bring out the details.
Or try a reflector

Photo by Aleksandr Kurganov/Shutterstock
Another way to fill in darkness is to use a reflector or two. You can easily find them at photography shops. However, if you don’t want to spend money on reflectors or there isn’t a shop near you, you can go the DIY route. Try covering some cardboard in tin foil, or, for more diffuse light, crumple a piece of foil so that it doesn’t bounce all the light in one direction. To use the reflector, simply place it opposite the natural light source and use it to reflect light back onto the subject. In most situations, you’ll be trying to get a diffuse light, rather than dots or pinpricks that will show up on your subject.
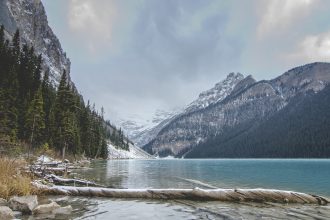
Look at the colour of the light
We often think of light as neutral, but it has colour. Think of the blue cast of a fluorescent bulb, or the way a sunset paints everything in yellow. If you want your photograph to have a warm look, it’s this yellowish light that you need (it mostly shows up early in the morning and in the evening). If you want a bluer tone, aim for a midday photoshoot. Whatever you’re photographing, remember that it is being coloured by light and that, taken a few hours later with a different shade of light, your photograph might look very different.
Also on RNR: