The days are getting longer, the weather is getting warmer, and spring is just around the corner. Winter has a strange hold on us, and when we finally break free, we are able to take a good look around us, which can be an eye opening experience. How did so much dirt and grime accumulate over the course of only a few months?
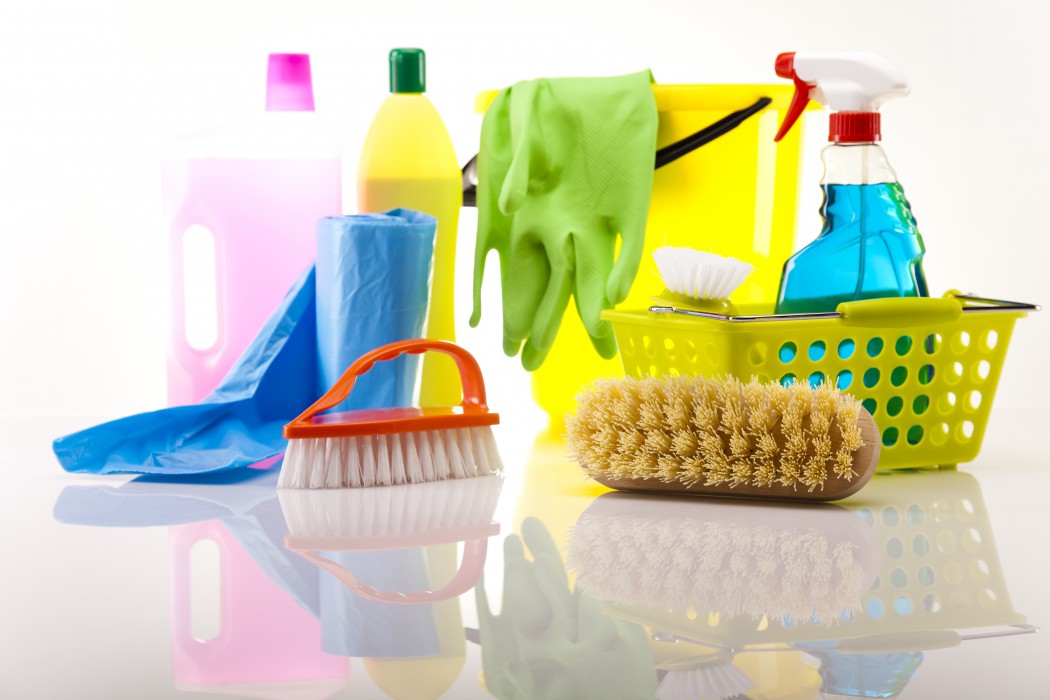
It’s time to top up your cleaning product supply and start your spring-cleaning. Wipe out your fridge, vacuum under the bed, shake out your rugs; search and destroy all those dust mites and stubborn stains. And if you really want to get serious this year, try the following tips to help you achieve your most effective spring cleaning yet.
1. Make a checklist
Spring cleaning can seem overwhelming at first. There is so much to do, where do you even start? One of the easiest ways to begin is by making a checklist. Walk through the house and have a look at everything that needs work and add it to the list. That way you won’t forget anything.
And, if you don’t feel like making your own list, or it seems like a daunting task, just grab one of the many helpful cleaning to-do lists from the wise old Internet.
2. Find those often neglected spots
Dust and grim can accumulate almost anywhere. The trick is to clean literally everything. That means you’ll need to find spots around the house that are often neglected. Common suspects include the air conditioning or heating vents, bathroom fans, bookshelves (including the books themselves), door handles, light switches, electronics, garbage cans and recycling bins, behind the fridge and stove, under the sink, and even between your couch cushions.
The trick is to move something from it’s original home, clean it and the area where it came from, and then put it back. Rinse and repeat for everything in the house.
3. Wash your windows on a cloudy day

Photo by Andrey Ushakov/Shutterstock
The best days to wash your windows are on gloomy, overcast days. It is much harder to see the streaks when the sun is shining, and the sun also makes cleaning solution evaporate too quickly. When you’re cleaning your windows, start by washing off the dirt and then wet a squeegee and move it downwards from the top of the window. Using a squeegee is easy and makes for a more spotless clean. Dry your windowsills with a clean cloth and wipe down any blinds to finish the job.
4. Wash the walls and cabinets
It seems unbelievable that dust could accumulate on vertical surfaces, but it does. Kitchen cabinets are the worst because, aside from food splatter, they often acquire a coating of oil and moisture, which attracts dust. Grab two buckets (one for cleaner, one for rinse) and get scrubbing. If you’re lucky, you’ll only need some warm water, but if things are sticky and stubborn, try adding a little dishwashing liquid.
Make sure to dry off the walls and any wood with a clean, dry cloth. You won’t believe the difference this will make to your rooms.
5. Clean your carpets, rugs, and upholstery
It is recommended that you vacuum once a day in high-traffic areas, but who has that kind of time? Unless you have allergies or pets, most people vacuum once a week, which means that dirt and dust have time to settle in. Give carpets and rugs a thorough shampooing (moving furniture to the side as you go), and then move onto your upholstery.
If anything is still looking rugged, even after all the cleaning, it might be time to pick up some new throw pillows or area rugs. Adding a new piece can really freshen up a room.
6. Organize your closets, cupboards and storage areas
This is a great way to get rid of anything that you don’t need, donate any clothes you haven’t worn this year, throw away expired food, and organize everything that’s left. Bringing order to your closets and storage spaces will help free up space for any clutter that has collected over the year and will make it easier to find things in your everyday life. It is surprising how much you can fit into small spaces when you are organized.
7. Don’t forget the door frames and baseboards
When dusting and vacuuming during a regular weekly clean, most people forget about baseboards and door frames. If you look closely, you’ll see that all those little contours and details are filled with dust. And the tops of your baseboards and door frames will have a layer of dust (also check the tops of the doors, hanging art, cupboards and window frames).
Try dusting first with a feather duster to get rid of any loose dirt and dust, and then wipe down your door frames and baseboards with a wet cloth (water or a mild dishwashing soap solution) to get rid of everything else. For wooden trim, be sure to use products that are safe for wood. Otherwise, dry everything with a clean cloth to keep dust from reforming on the surfaces.
8. Literally clean from top to bottom

Photo by Kzenon/Shutterstock
Often when cleaning we forget to look up, which means all the light fixtures (and light bulbs), ceiling fans, skylights, and high-ceiling corners are the perfect locations for cobwebs, dust, and unfortunately, dead bugs. Grab a stepladder, some all-purpose cleaner, and a sponge and get to work. If your vacuum cleaner can reach up high, use a soft nozzle attachment; otherwise, think about investing in some extended-reach cleaning tools.
Make sure to give your light fixtures and skylights a final polish to make them shine. Your home will automatically seem brighter.
9. Save the floor for last
Now that you’ve cleaned everything else, it’s time to tackle the floors. You want to save them for last because when you’re cleaning anything above them, such as furniture, shelving, and light fixtures, gravity ensures that dust (and cleaning solution) ends up all over the floor. To help keep up with wear-and-tear and protect wood floors from future spills and scuffs, a yearly reseal, wax, or polish is in order. Not only will it make the floors look nicer, it will also make them easier to clean!
And when it comes to bathroom tiles, the best method is to get down on your knees and scrub it out, focusing on the grout. A mixture of water and baking soda often does the trick, but if you’ve scrubbed and scrubbed and things aren’t looking up, try refreshing your grout (and tub sealant) to make your bathroom look brand new again.
10. Open the windows!
Not only will opening the windows help dry all of your cleaning and shampooing faster, it will help clear out any chemical scents you may have used. Also, the fresh air will help get rid of any staleness in the home and really make it feel like spring.
If you started your spring cleaning early this year and it’s still cold outside, try opening the windows for short periods of time (four or five minute bursts) throughout the cleaning process and one more time when you’re finished.
Also on RNR: