Don’t know what to do with all of your amazing travel photos? Take them out of the shoe box and try these easy DIY ideas by Lorrie Everitt to create something original and fabulous. Read on for Lorrie’s process.

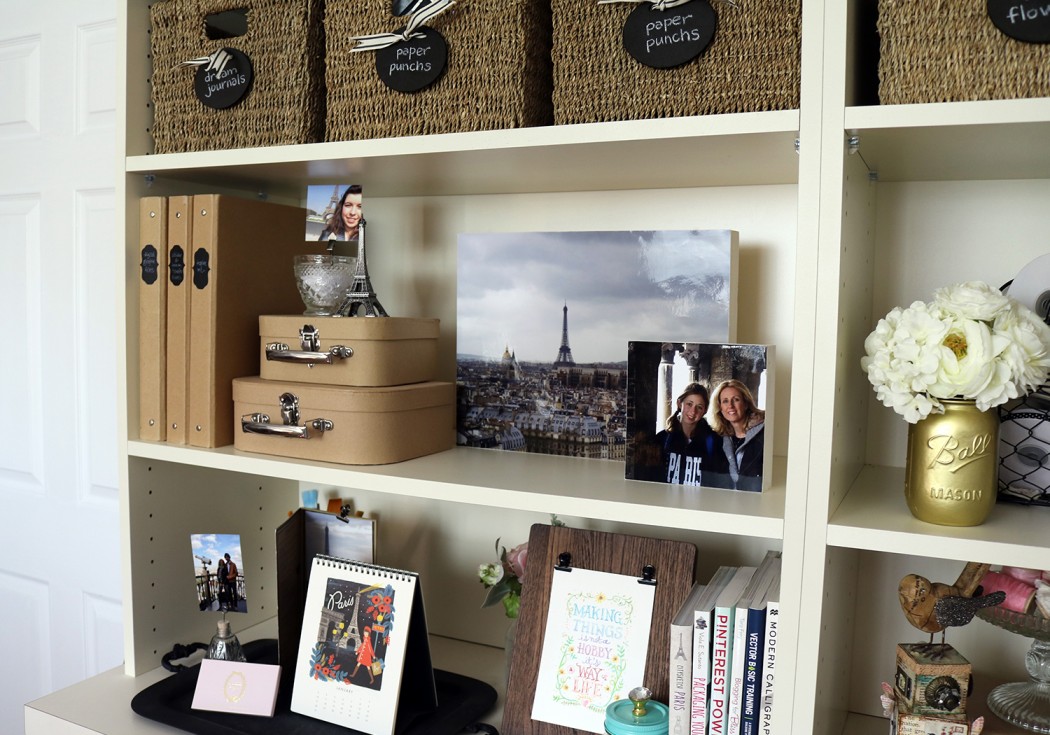
Here’s an easy way to turn your travel photos into a work of art. Mount photos onto blank wood panels to give them a clean and contemporary look and then hang them on a wall or display them on a shelf.

Group a collection of these together to create a unique art gallery for your home, cottage or office.

Gather your supplies: photos, wood panels, cutting mat, metal ruler, a utility knife, pencil, adhesive (I used Golden Regular Gel Matte), foam paint brush and an emery board for sanding. Tip: Wood panel boards are available in various sizes and thicknesses. If you want to display your finished piece on a shelf, I recommend using the 3/4″ thick wood panels.

I resized my photos to fit my wood panels and printed them on my Canon Pixma Pro-100 photo printer. This wood panel was 11″x14″ so I printed my photo on 13″x19″ photo paper and cut it to fit my canvas using a utility knife and metal ruler.
Tip: It’s better to cut your photo just slightly larger than the wood panel so it can be trimmed down later for an exact fit.

If you would like to paint or stain the sides of your wood panel do it at this point and allow to dry completely before going onto the next step.

Use a disposable foam brush to spread an even layer of adhesive to the wood. Once the adhesive has been applied you need to work quickly and place your photo on the panel. Make sure that the photo completely covers the panel and there are no air bubbles under the photo.
Tip: Make sure that there is no adhesive on your hands before you touch the photo. You don’t want to get any adhesive “fingerprints” on your image.

Allow the adhesive to dry for about 30 minutes before moving onto the next step.

To give my photo edges a clean and professional look, I sand the edges using emery boards. Emery boards are available in a number of different grades from fine to course so it’s good to have a few different ones on hand. Tip: If you have a lot of excess photo hanging over your edges you can use a utility knife to trim your photo a bit before sanding the edges.

Here’s a close up of what your photo art will look like as you sand the edges. Don’t sand the sides of the panel unless you are looking for a distressed finish. Once you have completed sanding all four sides your photo art is ready to hang or display.

Also on RNR:
https://youtu.be/1GYtsUIhI4o